The new Zapier Chrome Extension (called “Push“) is a button that lives in your Chrome bar and lets you create new MeisterTask tasks from anywhere on the web. There’s no need to open the MeisterTask app itself—as soon as you’ve entered the name of your task in Push and clicked send, it will instantly be added to the project and section of your choice.

How to Set Up Push:
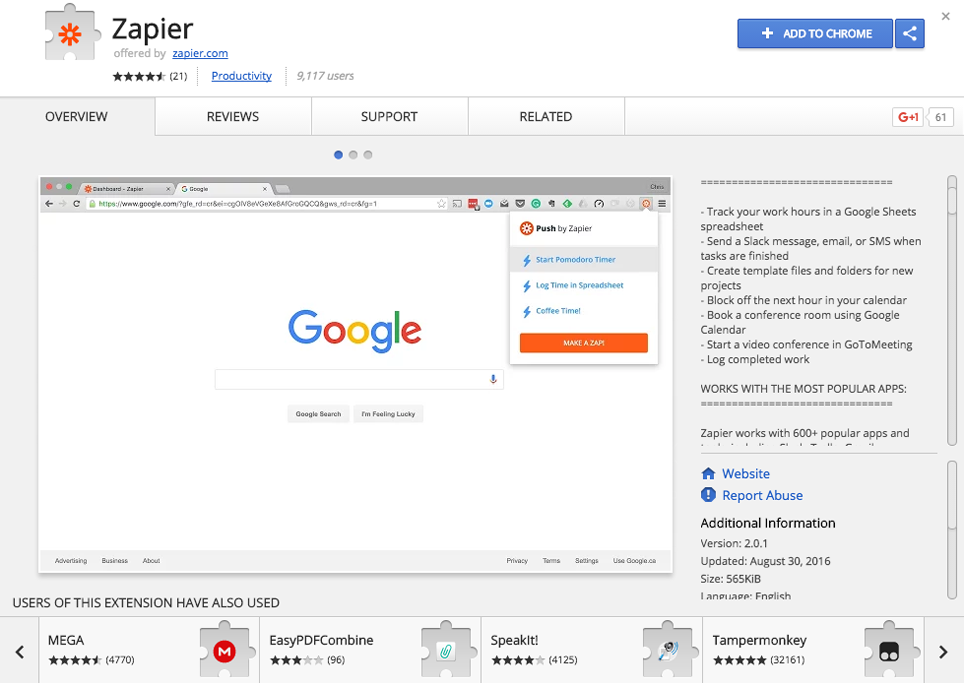
Step 1: Visit the Chrome Web Store and add Zapier to your Chrome bar.
If you’re not already logged in to Zapier, you will be asked to login as soon as you click on the Zapier icon that appears in your Chrome bar. If you haven’t yet created a Zapier account at all, well then it’s time you do! Aside from offering this handy Chrome extension, Zapier lets you connect MeisterTask with more than 500 other web apps and set up seamless workflows between them.
Step 2: Click on the orange button in the widget below to set up a zap with Push and MeisterTask:
Follow the instructions in the window that pops up, selecting the MeisterTask account, project and section you want to connect with the Push button.
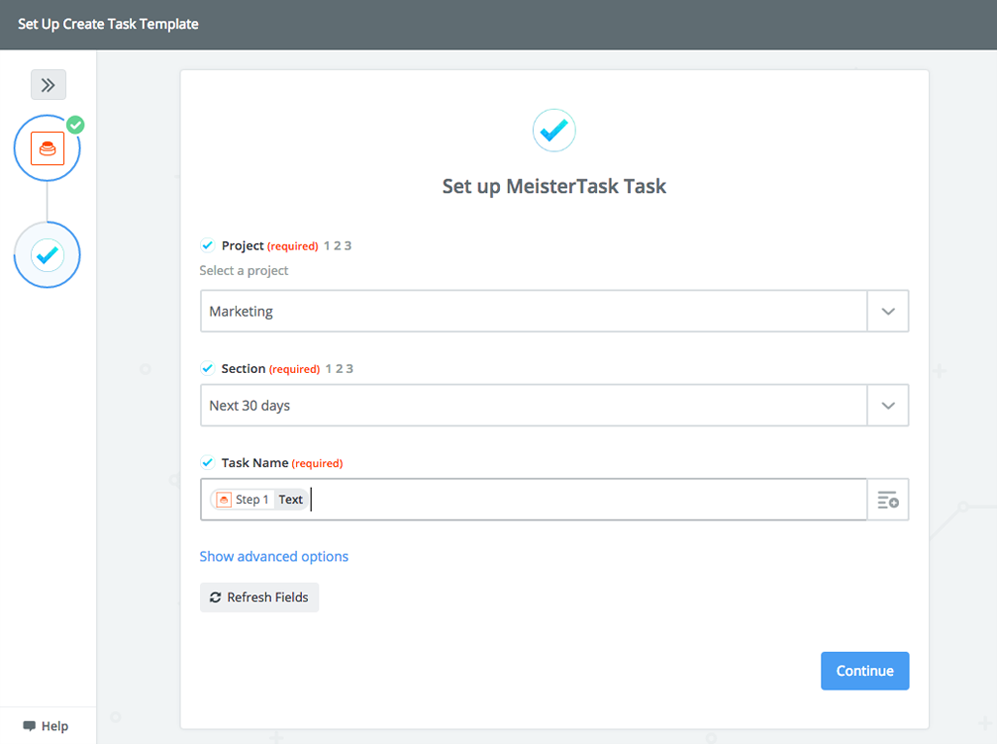
Tip: Click on ‘Show advanced options‘ in the dialog if you want notes or an assignee to be added to the tasks you create via Push.
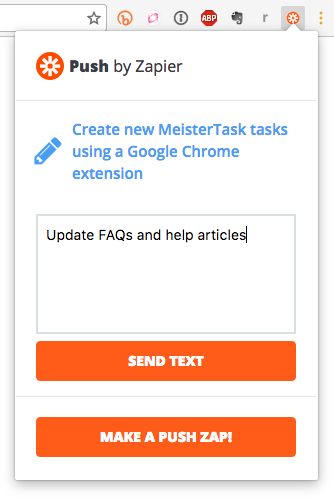
Step 3: Once you’ve successfully created a test task and finished the setup, you’re ready to start using Push. Whenever you want to create a new task, just click the Zapier button in Chrome, select the MeisterTask Zap you’ve created, put in the task title and click “Send text“.
That’s it! Explore Push on Zapier or go straight to the Chrome Web Store to get the extension and start creating MeisterTask tasks with Push!