
What is a project timeline?
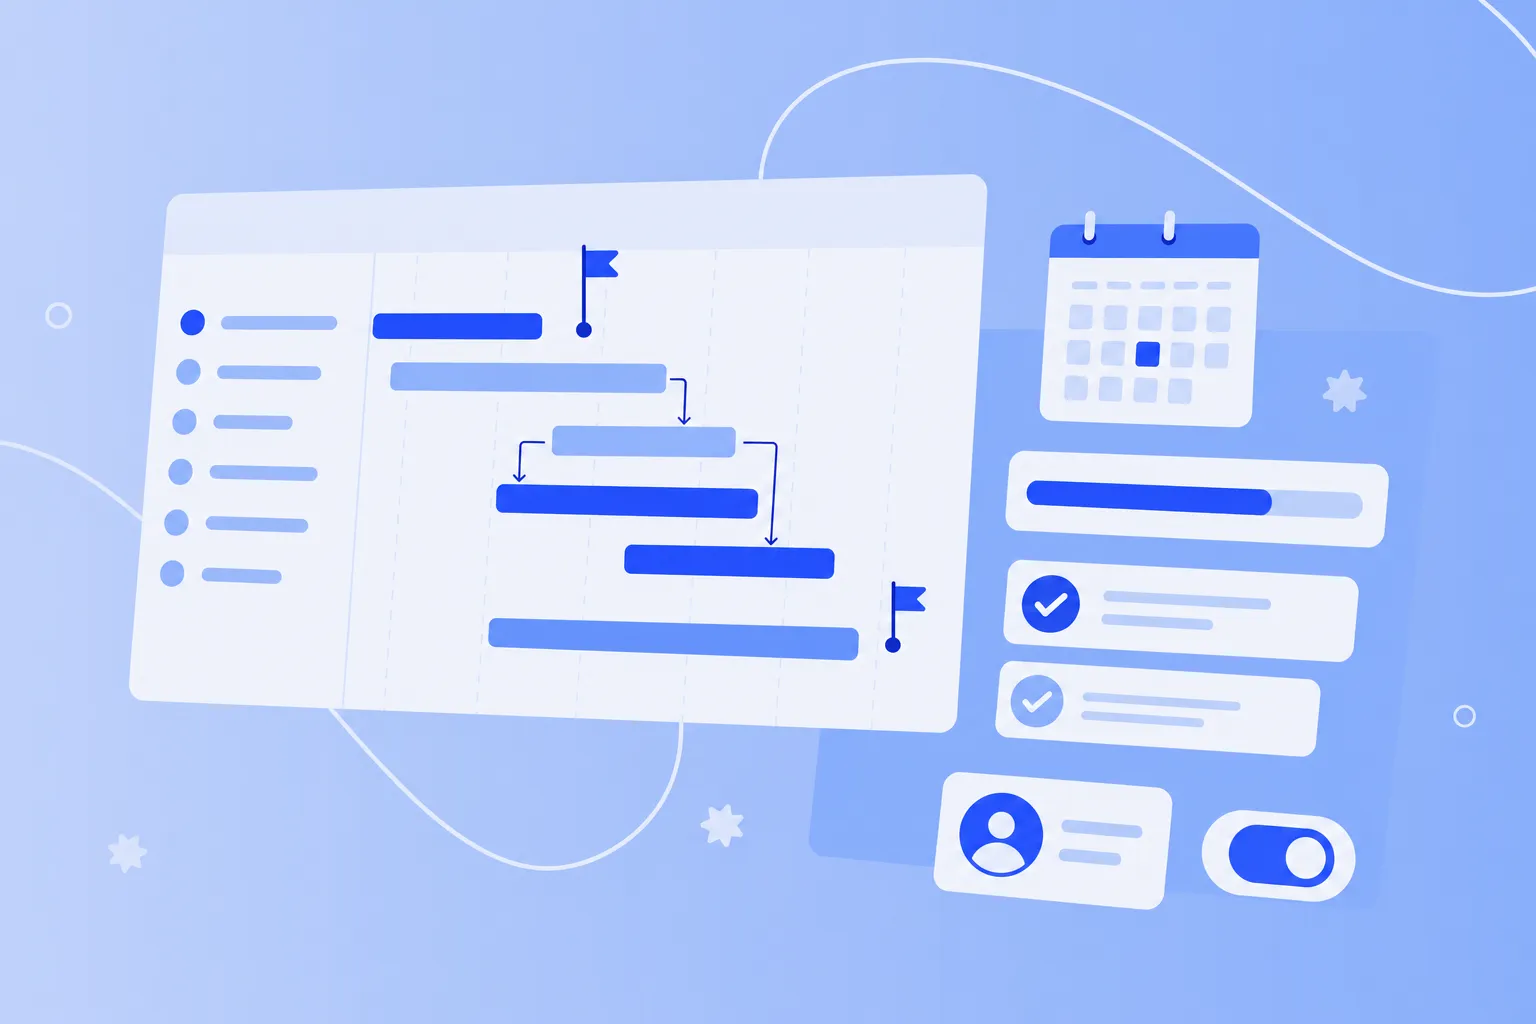
A project timeline is a visual schedule of the work in a project, arranged in the order it happens. It shows what needs to happen, when each piece is due, who owns it and which tasks depend on others. You can present it as a list, a bar chart, a calendar or a board.
Think of it like a train schedule, where one late train can make passengers miss their connection. A project schedule works the same way: when one task runs late, every task waiting on it shifts too.
A good timeline answers four questions:
What: the tasks and deliverables that make up the project
When: the start date, duration and due date for each piece of work
Who: the person or team responsible for each task
What's next: the tasks that can start once the current work is done
Your timeline evolves as the project progresses, so treat it as a living document and update it weekly.
Why project timelines matter for teams
When deadlines live in inboxes and meeting notes, people plan around different versions of the same project. A project timeline gives everyone one reference point. Conversations stop circling around dates and focus on what it takes to hit them.
Here's what a shared timeline gives your team:
A shared view of deadlines: Everyone works from the same dates, so fewer handoffs slip through the cracks.
Early warning of conflicts: You spot overlapping deadlines and overbooked owners before they lead to missed dates.
Realistic expectations for stakeholders: Clients and leaders understand how long the work takes and why each date is where it is.
Visible progress: Anyone can check what's done and what's next, so status updates come together faster.
Picture a team preparing a client report. The analyst plans to deliver the data in Week 3, while the designer expects it in Week 2. A shared timeline surfaces that gap on day one, so the team can fix it before anyone loses a week.
If your team is still deciding how to plan its work, our article on choosing a project management methodology compares the main approaches. To get these benefits from your own plan, start with the parts every timeline needs.
Key parts of a project timeline
Whether it covers a two-week sprint or a year-long build, every project timeline rests on the same four building blocks.
Tasks and deliverables
Deliverables are the outcomes you hand over, such as a report, a website or a trained team. Tasks are the pieces of work that produce them. Break each deliverable into tasks small enough for one person to own and finish within a week or two.
Durations and dates
Each task needs an estimated duration, a start date and a due date. Add buffer time to tasks with open questions, outside input or new tools, because those tasks are the most likely to run over.
Task dependencies
Task dependencies describe the order in which your work must follow. The most common type is finish-to-start: the design must be finished before the build starts.
The critical path is the longest chain of dependent tasks in your project. According to a PMI paper on critical path scheduling, a delay to any activity on the critical path delays the project completion date.
Milestones
Milestones are checkpoints with zero duration that mark a key moment, such as a client approval, a design sign-off or a launch. Each one gives the team a clear point to check whether the project is on track. Place one at the end of each phase, and you're ready to build the timeline itself.
How to create a project timeline in 6 steps
Knowing how to create a project timeline saves you from having to rebuild it halfway through the project. These six steps turn a blank page into a shared schedule your team can track.
Step 1: define scope and deliverables
Start by writing down what the project will deliver, by when and what's out of scope. A short, charter-style scope statement works well: goal, deliverables, end date, key stakeholders and constraints.
For the wider context, our article on the seven steps of project planning shows where the timeline fits.
Step 2: Break the work into tasks
Split each deliverable into phases, then split each phase into tasks. Involve the whole team, since the people doing the work know which steps tend to get forgotten.
A MindMeister mind map gives you room to brainstorm this. Put the project goal in the center, add phases as branches and add tasks as subtopics. When the structure looks right, send the mind map topics to a MeisterTask project as tasks, and their assignees and due dates carry over.
Step 3: Estimate durations
Ask each task owner how long their work will take. Avoid best-case estimates, which assume no sick days, no feedback loops and no surprises.
For example, if a designer estimates three days for a layout, ask what happens if the client requests two rounds of changes. Add buffer to riskier tasks and write down your assumptions, so you can revisit them when plans change.
Step 4: Link task dependencies
Go through your task list and ask what must be completed before each item can start. Link those pairs so the order of work is clear to everyone.
In MeisterTask, Task Relationships let you mark tasks as Blocked or Blocking. MeisterTask flags blocked tasks, so the team sees at a glance which work is waiting. When you schedule, place blocking tasks before the tasks they block: if "Finalize copy" blocks "Build landing page," the copy gets its slot first.
Step 5: Set milestones and due dates
Add a milestone at the end of each phase and at any point where someone outside the team needs to approve work. Then give every task a due date that leaves room before the next milestone.
MeisterTask doesn't have a dedicated milestone feature, so create each milestone as a task and link the related work to it as subtasks. Set due dates on the milestone task and its subtasks. Subtasks, like Timeline, are part of the Business plan.
Step 6: Visualize, share and track
Timeline is MeisterTask's take on the Gantt chart, and it's available on the Business plan. You turn it on in the project settings, and it color-codes tasks by section so each phase stands out.

Use sections for your phases or workflow stages. When someone moves a task to the next section, the whole team sees its status change. Review the timeline once a week, update dates that have shifted and share changes with stakeholders.
Project timeline examples
These project timeline examples show how the same building blocks adapt to different kinds of work.
Marketing campaign timeline
An eight-week campaign starts with a brief and ends with a results report. If the Week 5 review surfaces major changes, the launch milestone moves, so keep a few buffer days before it.
Weeks 1 to 2: campaign brief, audience research and key messages
Weeks 3 to 4: creative production for ads, emails and landing page
Week 5: stakeholder review and final edits
Week 6: launch milestone
Weeks 7 to 8: performance tracking and results report
Product launch timeline
A 12-week product launch runs product work and go-to-market work side by side. The launch day milestone depends on both tracks, so a late pricing decision can hold up the release as much as a late bug fix.
Weeks 1 to 4: beta release to a small group of users
Weeks 5 to 6: feedback review and priority fixes
Weeks 7 to 9: pricing, positioning and sales enablement
Weeks 10 to 11: launch assets and support training
Week 12: launch day milestone
Event timeline
A 16-week event timeline front-loads the bookings with the longest lead times. Venue and speakers come first, because every later task depends on a confirmed date and location.
Weeks 1 to 4: venue shortlist, booking and contract
Weeks 5 to 8: speaker outreach and agenda
Weeks 9 to 14: registration, promotion and logistics
Week 15: final checks and event day milestone
Week 16: attendee follow-up and team debrief
Manufacturing timeline
A production line changeover depends heavily on outside partners, and supplier lead times often set the pace. If a supplier quotes six weeks for new parts, that single dependency can decide the whole schedule. Confirm lead times before you commit to a date for full production.
Weeks 1 to 2: design review and sign-off milestone
Weeks 3 to 8: supplier lead time for parts and materials
Weeks 9 to 10: tooling installation and setup
Week 11: trial run and quality checks
Week 12: full production milestone
Free project timeline template
A project timeline template gives you a head start because the structure is already in place. Copy these fields into a spreadsheet, a document or your project management tool, then fill them in:
Project name, goal and end date: the headline details everyone should know
Phase: the stage of work each task belongs to
Task: a clear action that starts with a verb
Owner: the one person responsible for delivery
Start date: the day work begins
Duration: the estimated time needed, including buffer
Due date: the day the task must be finished
Depends on: the tasks that must finish first
Milestone: the checkpoint this task leads to
Status: open, in progress or done
If you'd rather start with a ready-made project, the MeisterTask project timeline template sets up the structure for you. Rename the sections to match your phases, add your tasks and set your due dates.
Project timeline vs. Gantt chart vs. roadmap
People often use these three terms interchangeably, but each one answers a different question for a different audience.
Project timeline: A project timeline is any schedule of tasks in order. It can be a list, calendar, board or bar chart.
Gantt chart: A Gantt chart shows each task as a bar across dates, with lines for dependencies. Timeline is MeisterTask's take on this format.
Roadmap: A roadmap shows high-level strategic direction over quarters, with fewer exact dates. Its main audience is leadership.
In practice, a roadmap sets the direction, and a project timeline or Gantt chart plans the work that gets you there.
Common timeline mistakes and how to avoid them
Even a carefully built timeline can drift off course. Watch for these five mistakes:
Best-case estimates: Plans that assume everything goes right fall apart at the first delay. Ask owners for realistic estimates.
Ignoring dependencies: Blocked work piles up when you schedule tasks without checking what they wait on. Link dependent tasks first.
No buffer: Add buffer to risky tasks and before milestones.
Set and forget: A timeline nobody updates stops matching reality within weeks. Review it weekly and adjust dates.
Too much detail or one owner: Tiny tasks bury what matters, and one person can't keep everything current. Share ownership with the team.
Avoiding these mistakes keeps your timeline useful long after the kickoff meeting.
Turn your timeline into progress
A project timeline turns a list of tasks into a shared plan. When you define scope, link dependencies, set milestones and review the schedule every week, your team knows what's next and why it matters.
MeisterTask brings tasks, due dates and Timeline together in one place, so progress stays transparent for everyone involved. If you're looking for project management software your team will enjoy using, it's a natural place to start. Build your first timeline, share it with your team and watch the plan turn into progress.